
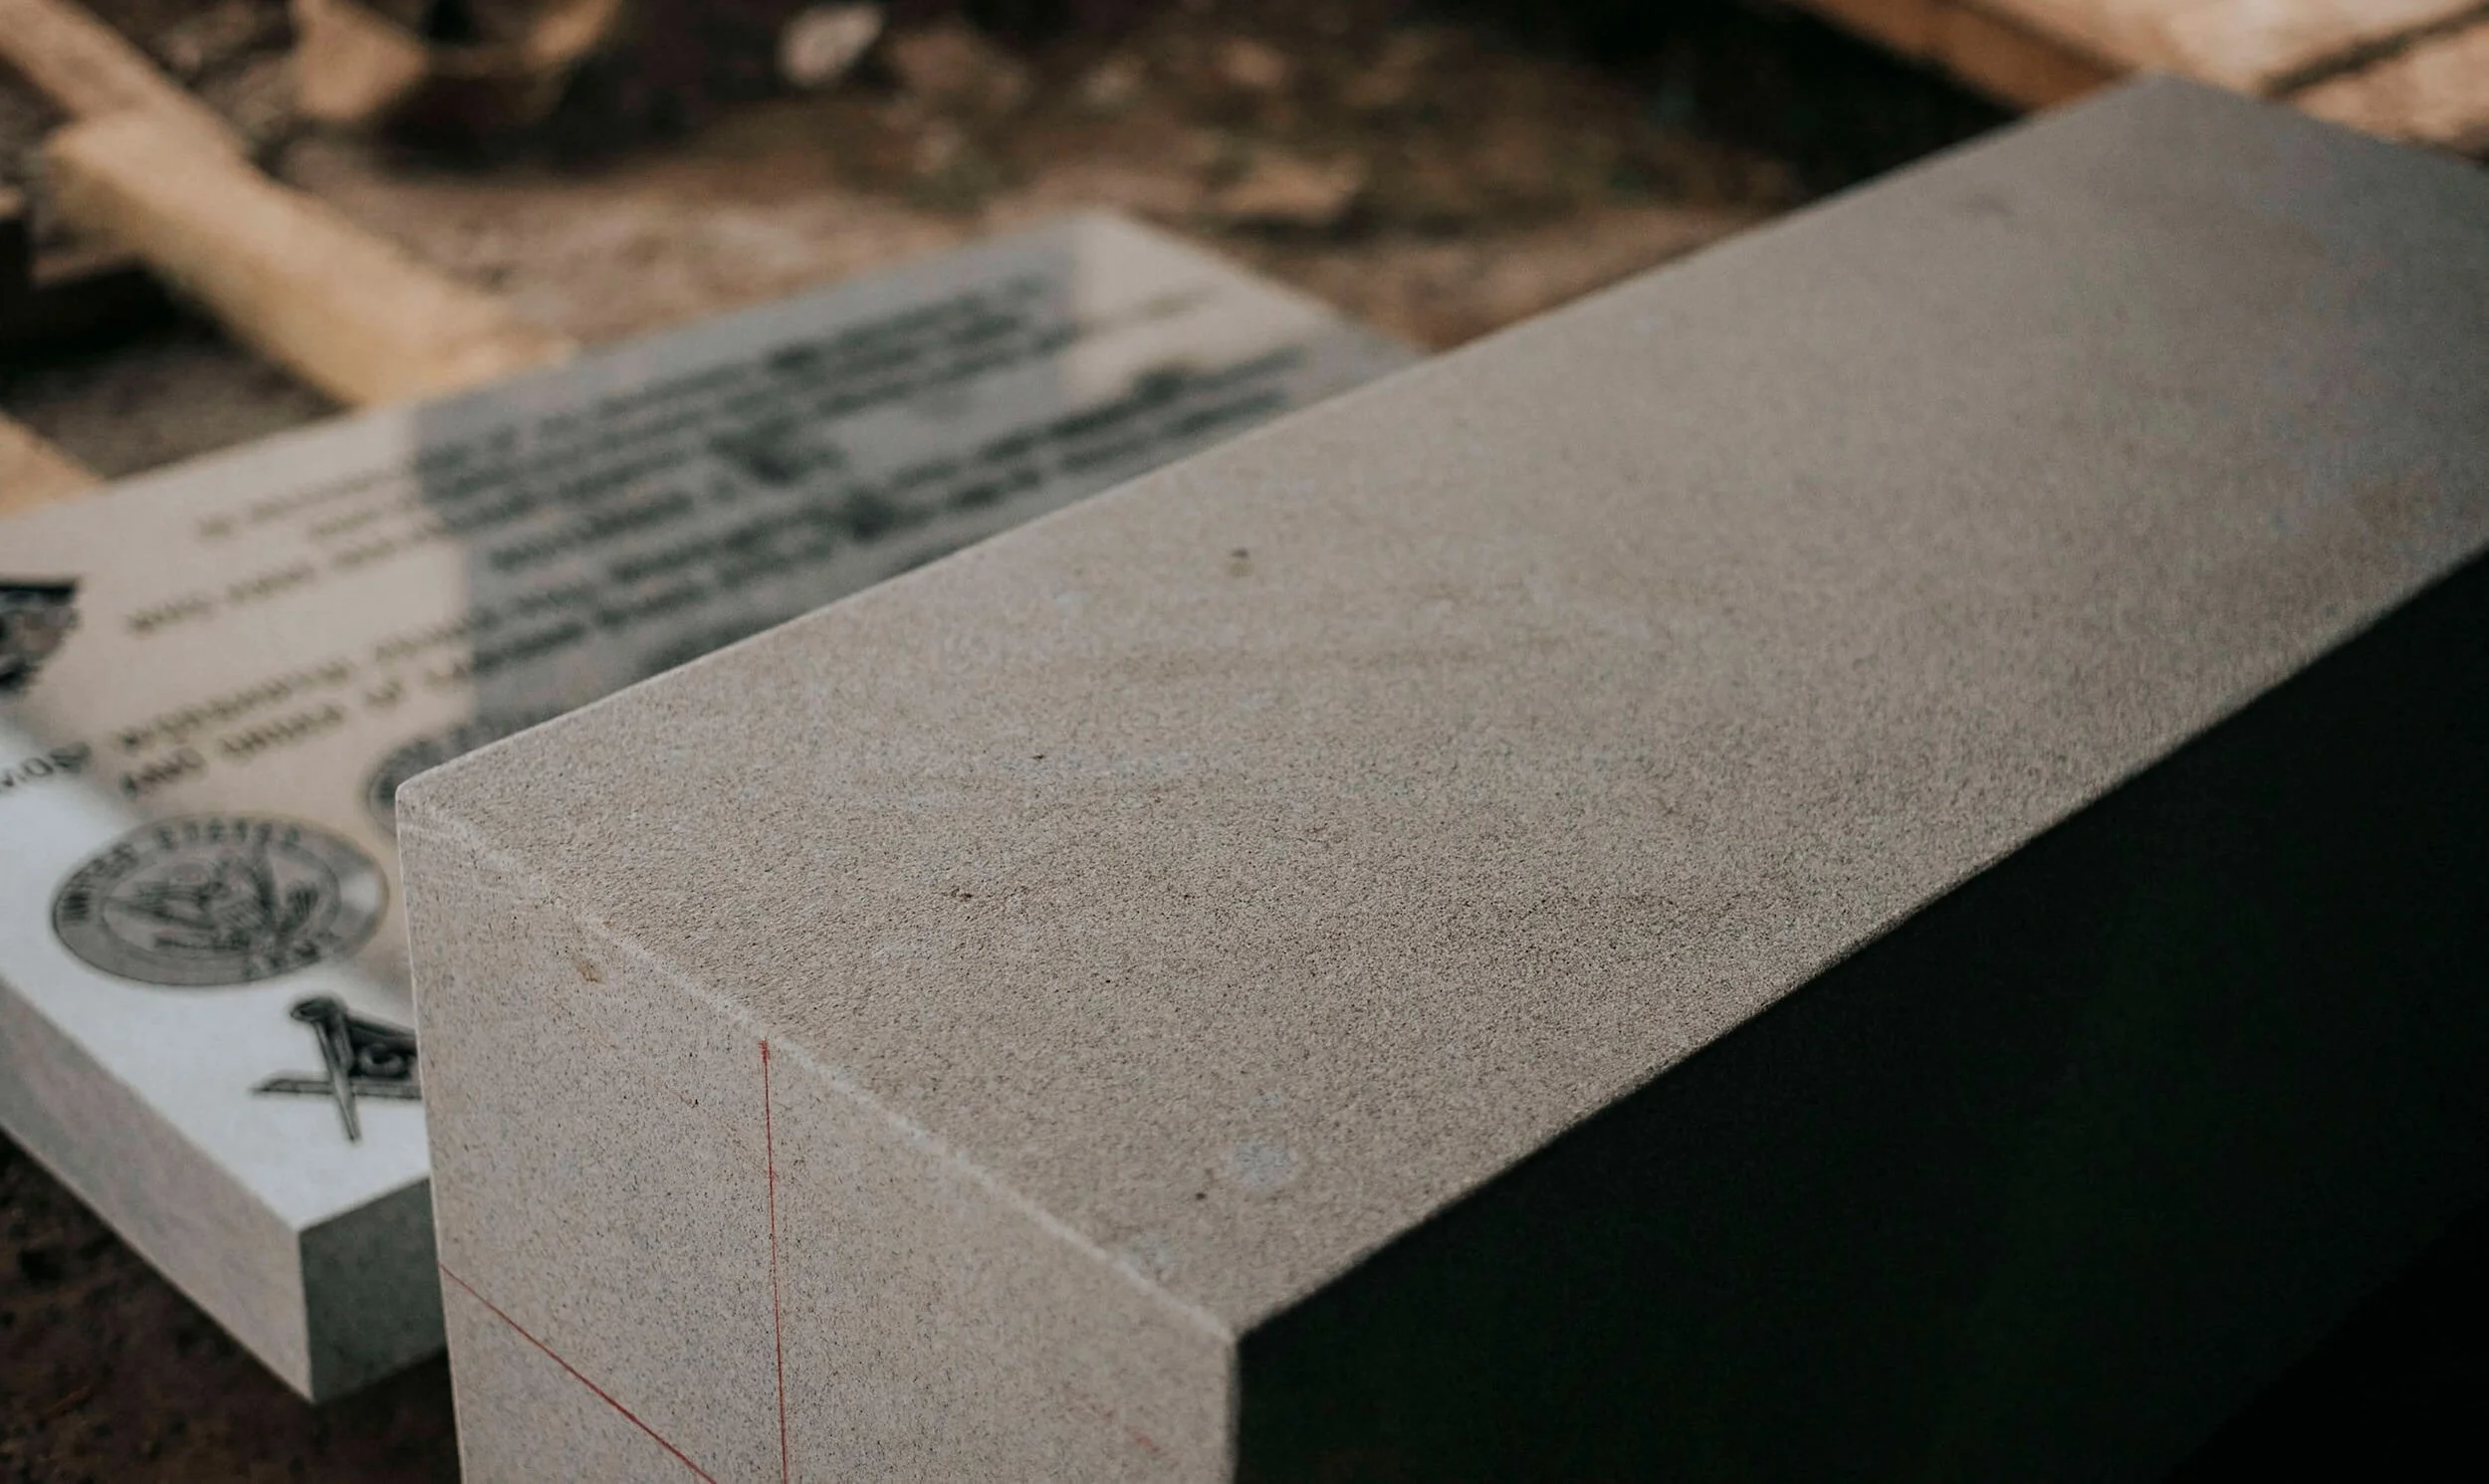
One of the biggest challenges facing you as you work on each sandblasting project is that your client is only ever interested in the final look of the work you produce. You can invest in a new sandblaster, play around with a variety of sandblasting media and have the best high quality rubber sandblasting stencil, but at the end of the day, it’s all about getting crisp lines and a professional finish. Working with stone can be an unforgiving task as any small mistakes will ruin the stone and force you to start all over again. These errors can quickly eat into your profit margins on any work, both in terms of buying replacement stone to work with and the time it takes to start the project all over again, so it’s important to know the main sandblasting stencil mistakes that ruin good stone, and easy steps you can take to avoid them.
Mistake #1 – Picking the Wrong Stencil
No matter how long you’ve been in the sandblasting field, it becomes quickly obvious that there are a wide variety of sandblasting stencils to choose from, and without the right guidance, it can be hard to pick the right stencil for the type of stone you’re working with. For example, picking a stencil that is too thick and rigid might cause your image to distort if you’re working with a curved or polished surface, while choosing a stencil that is too thin will leave you with ugly pockmarks where the rubber didn’t protect the substrate adequately.
The Fix: Talk to Our Professionals
Fortunately, here at U-Blast, we’ve got decades of experience in the world of sandblasting stencil, and our line of high quality rubber stencil rolls has been extensively tested and refined to work with any kind of stone. You’ll find a handy guide on our website pages showing each of our liners’ flexibility, thickness and adhesive properties, and our team of sandblasting experts will talk you through the best options for your project. In addition, you’ll get our next-generation rubber compound designed for both blast resistance and blade protection with every stencil roll you order.
Mistake #2 – Distorted Designs
One of the hardest parts about sandblasting is taking the beautiful image on your computer and translating it through your plotter and weeding into an equally beautiful stencil. This process can take time, and depending on the quality and flexibility of your stencil roll, your image can become distorted if you wait too long between cutting the stencil and placing it onto your substrate surface.
The Fix: U-Blast’s Anti-Shift Mesh™
We’re all about listening to our customers, and we have a reputation for taking our clients feedback and taking action on it. The pain point about subtle changes in stencils after cutting is one that we’ve worked hard to fix, which is why we are now proud to introduce our patented Anti-Shift Mesh™ technology. This is an integrated structure that keeps a stencil in the desired shape with high levels of precision while you’re getting everything prepared for the engraving. The image that you cut and weed will be the image that goes directly onto your stone surface, no matter how long you need in between.
Mistake #3 – Adhesive Errors
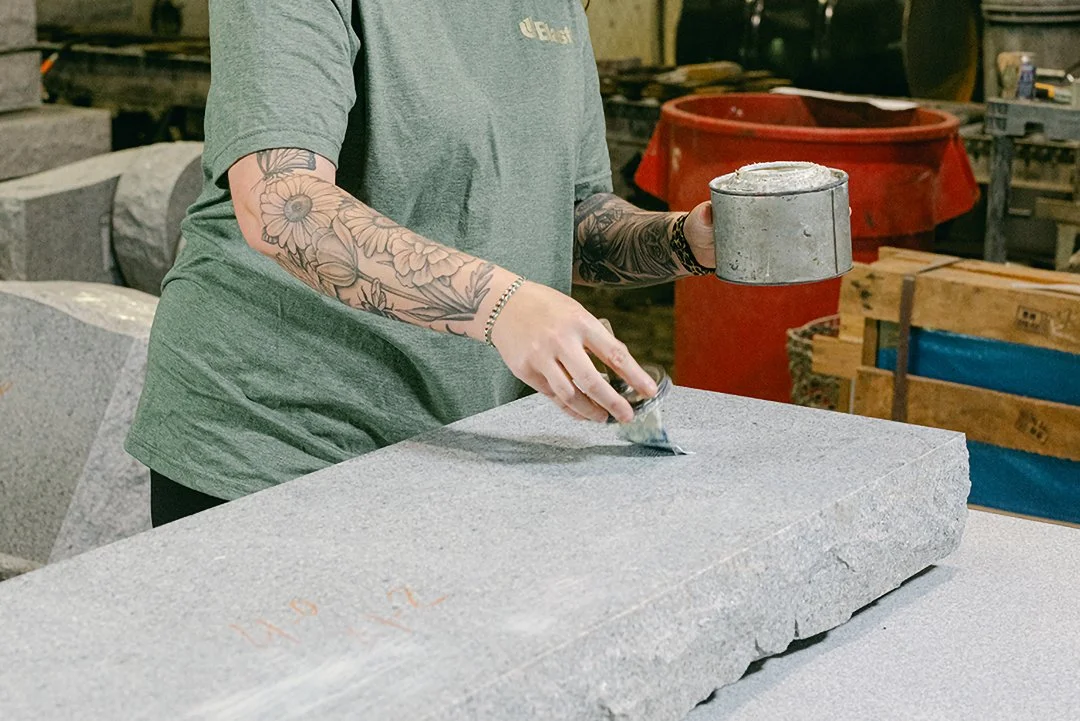
The last major sandblasting stencil mistake that ruins good stone comes from a misunderstanding around adhesive. Adhesion is a key feature of any stencil roll, and getting the right amount is essential to the success of any project. Too little adhesive and you run the risk of lifted edges or image distortion as the stencil moves and slips around during the sandblasting process. Too much adhesive and you’ll ruin the stone trying to peel the stencil off at the end of the project leaving you with hard to clean residue and even small chunks of rubber that are firmly stuck to the stone.
The Fix: U-Blast’s Adhesive Guide
At U-Blast, we know the pains behind finding the right level of adhesive. That’s why all of our products carry an adhesive rating so you can quickly get an idea of which stencil roll will be the right fit for the type of stone that you’re working with. Like with our new synthetic rubber compound, we’ve also been working on a refined low odor adhesive system that leaves you with an easy clean up with no hassle and minimal residue after removal. Combined with our uniform tack that sticks to both polished and rough stone surfaces, you’ll always get the right adhesive levels for your next engraving projects.