

The key to owning and running a successful sandblasting business is efficiency. No matter how big or small your company is, you’ll make a good profit every time that you complete a project on the first try. Not only that, but you’ll also have strong customer relationships as your consistency will build trust and a sense of reliability. It’s important to examine each part of your sandblasting process to find ways to get the job done right every time.
It All Starts With The Stencil
The success of your sandblasting project starts with your stencil roll. It’s always tempting to look at suppliers who are offering rock bottom prices for what seem to be similar products, but you should always be asking what corners are being cut to get the prices that low. Before you even get into the practicalities of sandblasting stencil application strategies, you need to know that you have a high quality stencil roll that will help you do the job right the first time, every time. There’s no sense in buying a cheaper roll that hasn’t gone through the same quality assurance process, as you’ll just end up with a costly do-over and lose money in the long run.
Essential Surface Prep Advice
Once you’ve got a high quality sandblasting stencil that gives you the best value for money, the next step in creating an efficient process is your surface preparation. Even the best stencil will struggle to adhere correctly to a surface that isn’t ready for it, and while your substrates may vary from project to project, the following steps should be consistent across all your sandblasting work:
Keep it clean - it may sound obvious, but your surface needs to be completely clean of any debris. This starts with removing all visible bumps, chips and debris that might be on your substrate. You then need to apply a strong cleaner to remove invisible oils and grime, before finally applying a microfiber cloth to get a fully smooth clean finish.
Keep it dry - once your surface is completely clean, you need to make sure it’s fully dry. This is because most stencil adhesives work best with a dry key as any liquid will reduce the ability of the stencil to make full contact with the surface. Alcohol wipes can be a great tool here as well as some sort of heat source to completely evaporate any water condensation that may build up unexpectedly.
Keep it at temp - finally, a hidden key to getting a secure level of adhesion is to allow your substrate to get to room temperature before you apply the stencil. This lets the pores in the stone be fully open, creating a microscopic key for the adhesive to stick to. You don’t want to overheat or cool the substrate too much as you’ll find a reduced level of tack, so room temperature is where our clients have found the most success.
Tips For Stencil Application
With a fully prepped surface, you’re ready to apply your sandblasting stencil. Applying your stencil correctly is where many simple errors can become big problems later on in the project. Fortunately, there are a few solid tips to follow to make sure you get the right result the first time.
Check It Twice (Or More!)
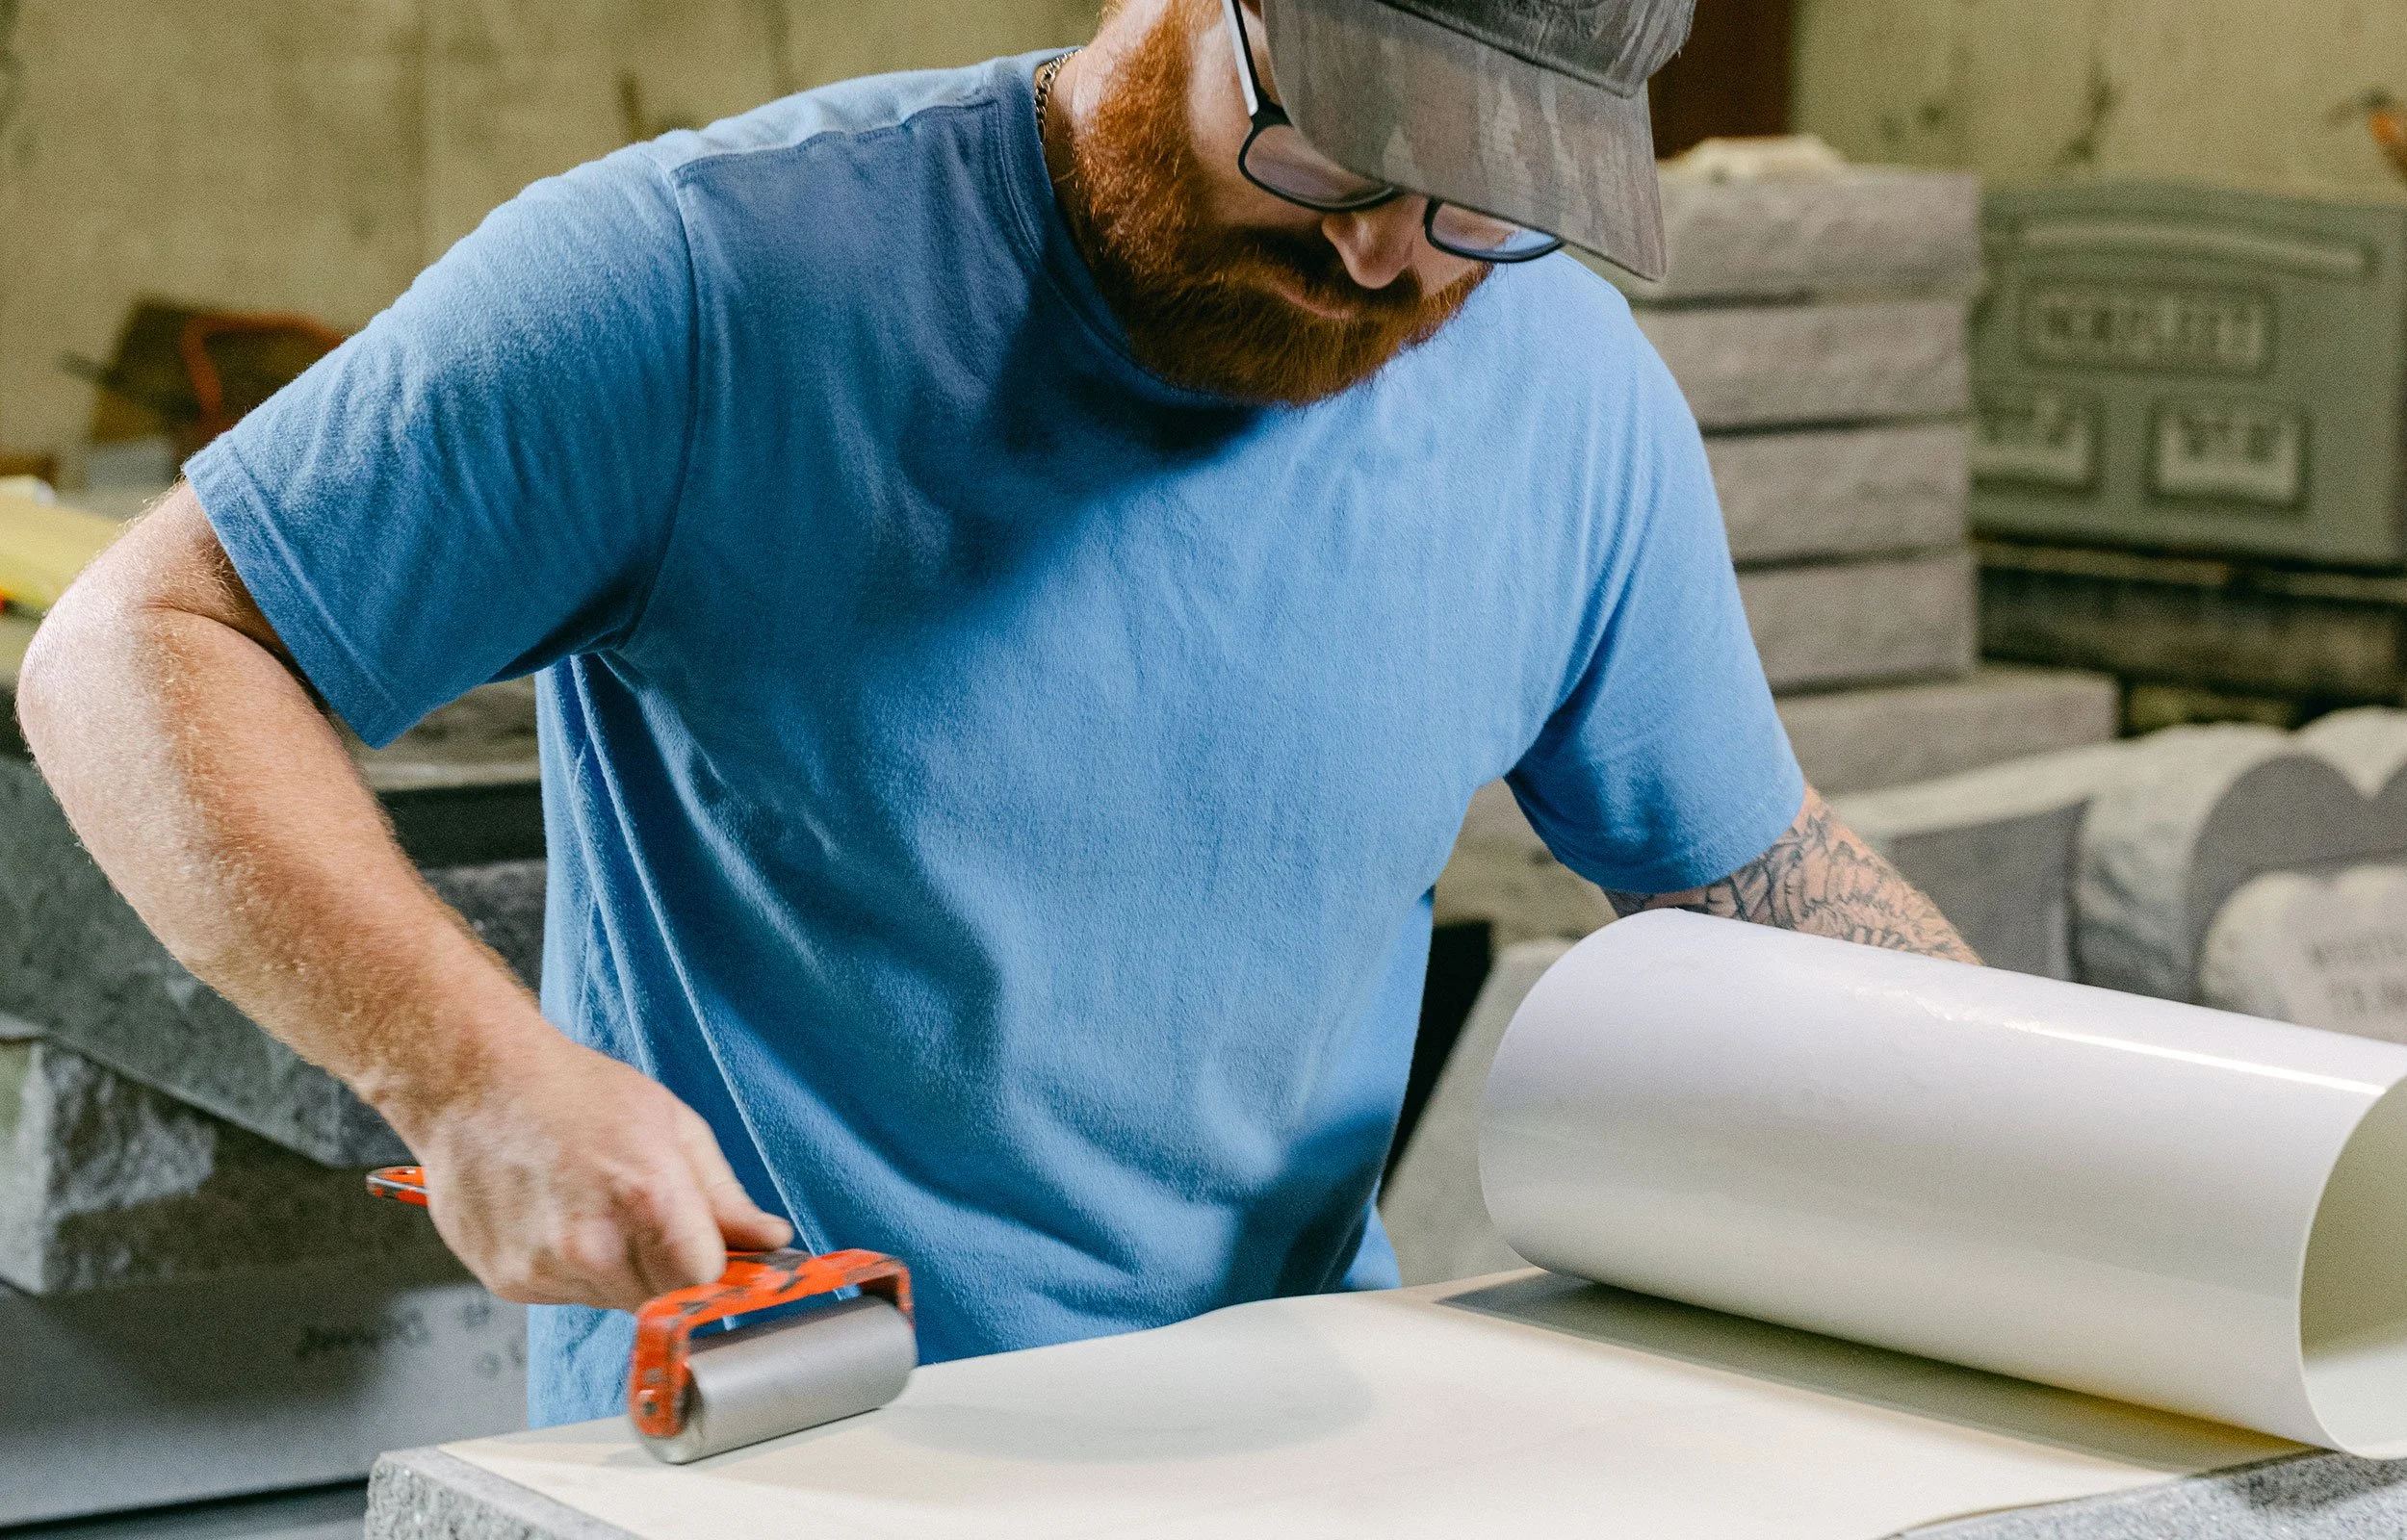
It can be tempting to rush through your pre-blasting checks to get the project completed early. However, as with all aspects of your sandblasting projects, it’s always worth slowing down and double or even triple checking the placement of your stencil. While it’s possible to pick it up and reposition it, you’ll have to clean up the residue from the adhesive as well as running the risk of ripping or tearing the stencil.
Roll It Down
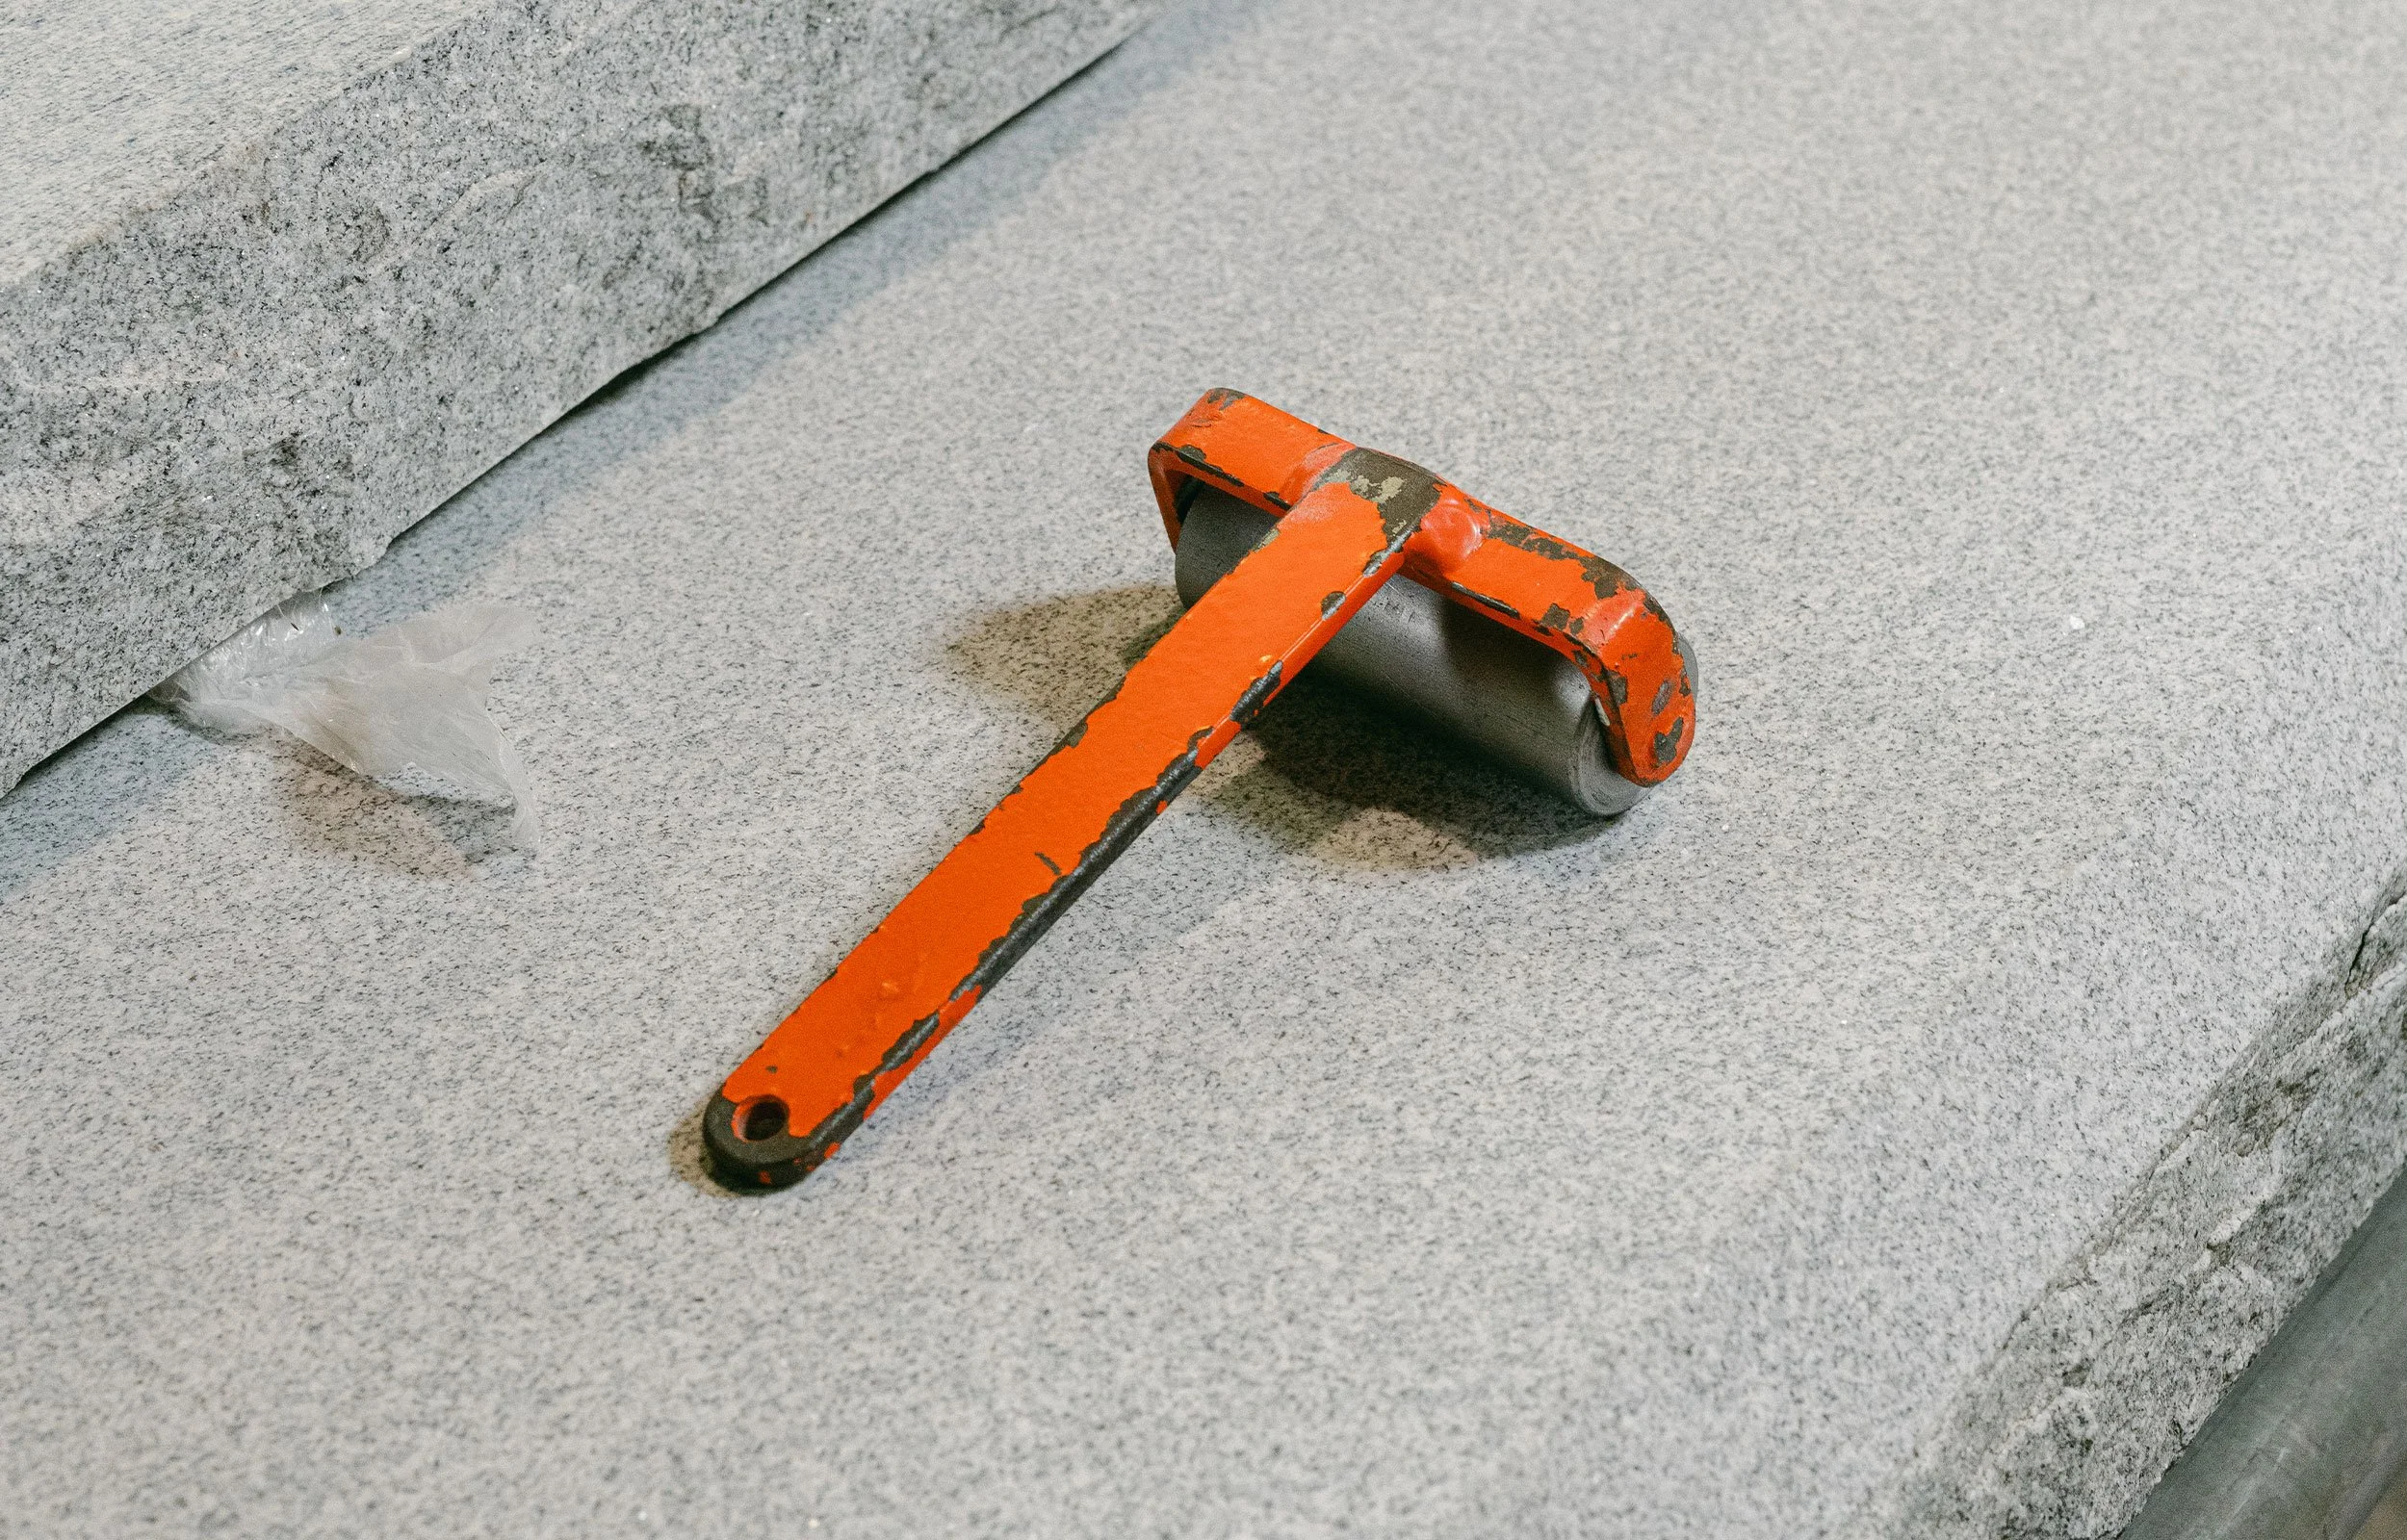
You need to make sure that there is a constant and hard seal all the way across your stencil to avoid a costly blasting mistake such as edge lifting. A good way to get the stencil firmly in place is to apply a hard roller across the entire design to push out any tiny air pockets, and finish by using your thumb on the outer edges to make a secure border.
Only Use What You Need
For larger designs, it makes sense to work in a piecemeal fashion. This means that you only stick down the areas that you’re currently working on. This approach allows you to move quickly and efficiently through the process, and helps you make any adjustments necessary as you transition between sections.