
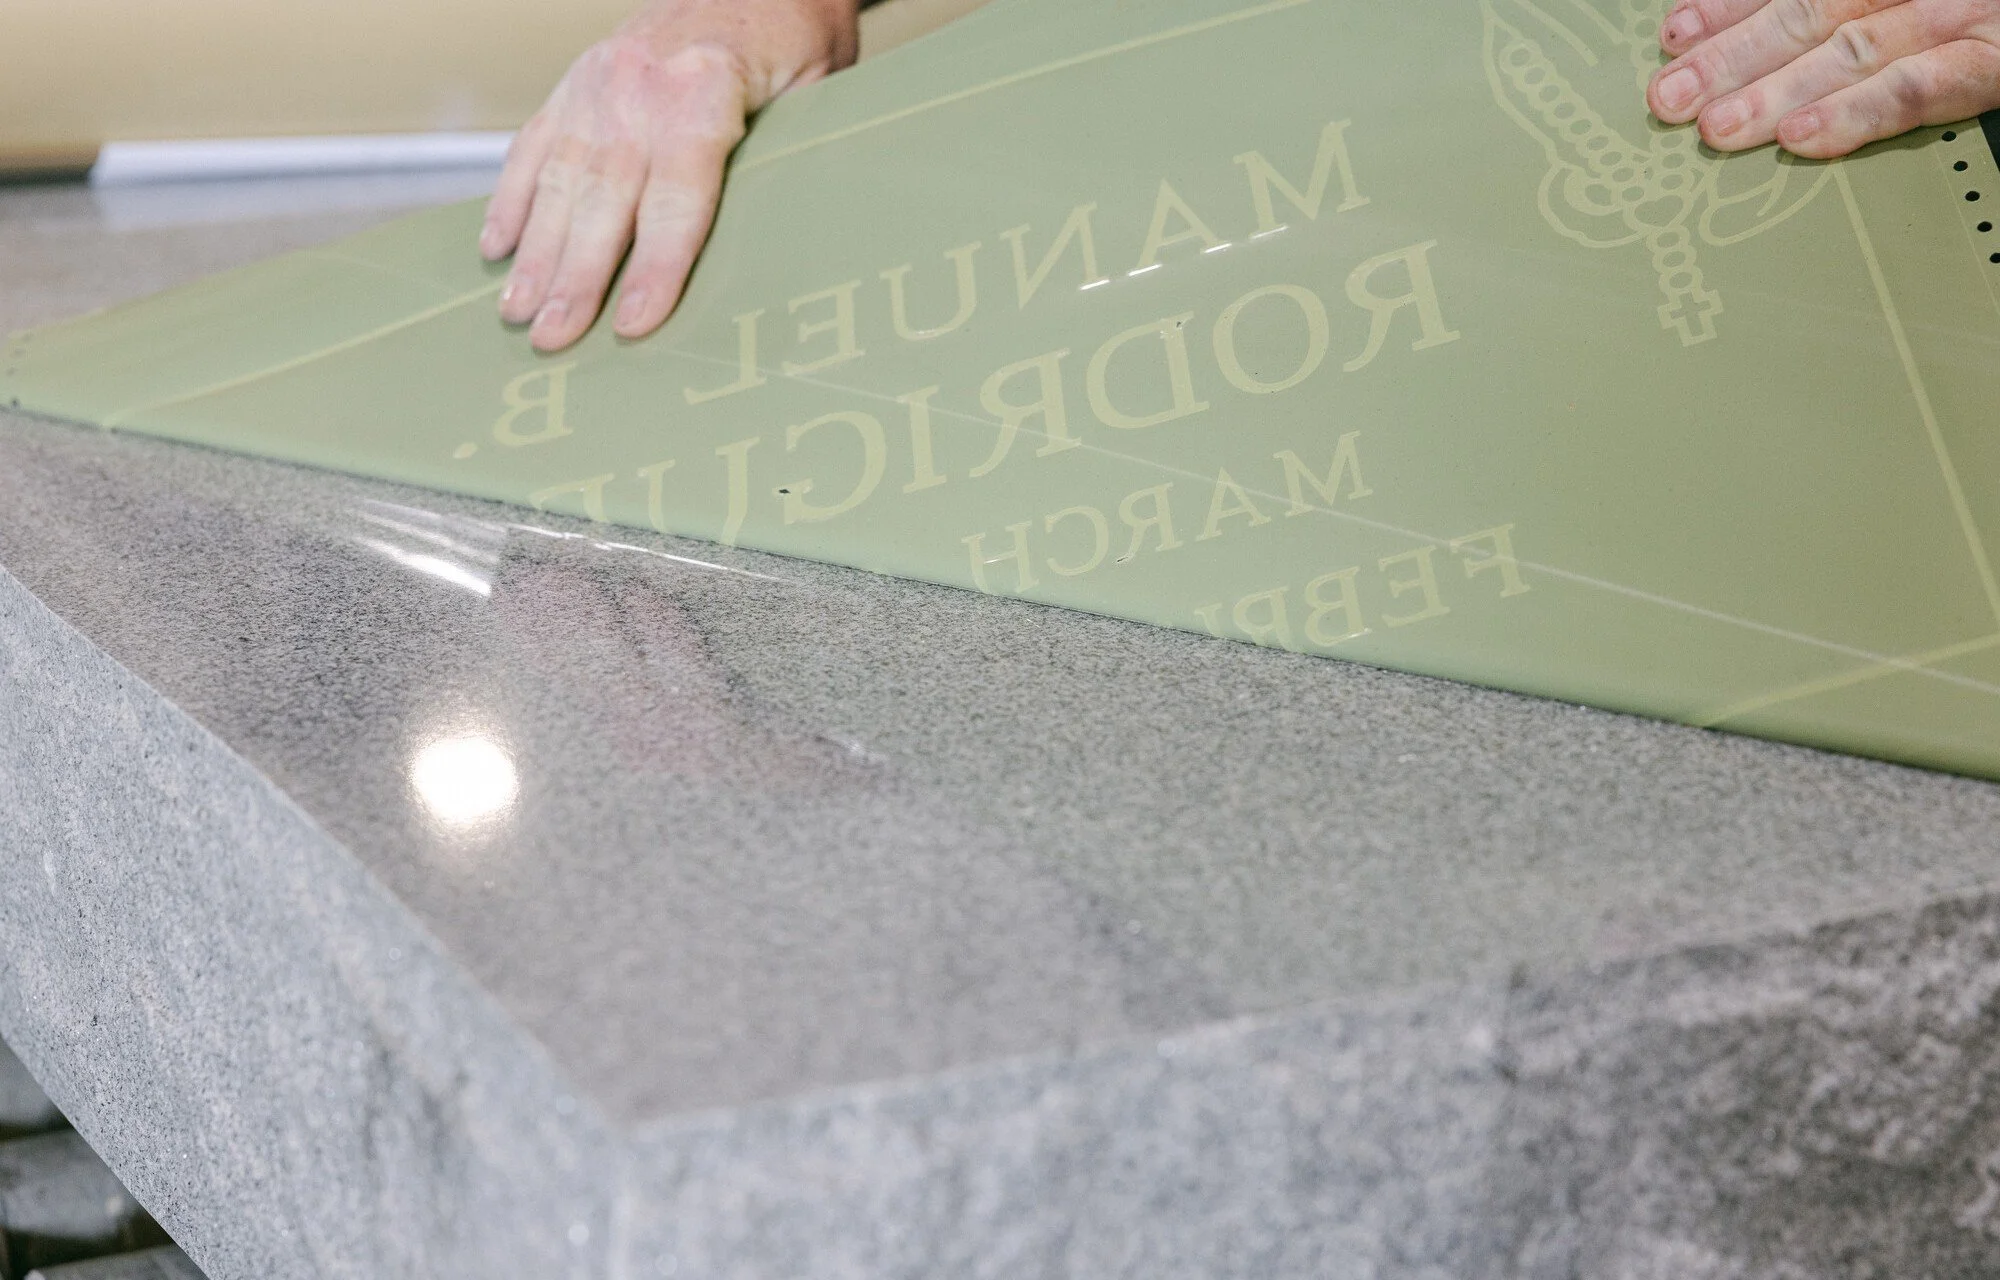
The majority of your sandblasting work uses stone as the substrate, and while there are many different varieties of stone, there are a few common sandblasting stencil problems that come with the territory. In this post, we’ll look at five of the most common problems and how to troubleshoot them. TL;DR version: Use a U-Blast stencil for strong stencil performance at a fair price.
#1: Stencil Lifting
Most stone work involves working with a pre-polished or smooth finish. These stick well initially, but can often release overtime. If your shop is busy, you don’t always have time to check before the blasting process. If the stencil has peeled, it can result in unwanted marks around the edges of your stencil as well as a lack of definition on the inner parts of the design. To fix this, make sure your surface prep routine is done thoroughly, and use a high tack stencil designed for smooth surfaces.
The U-Blast advantage: our new adhesive formula ensures you get a good firm grip the first time around.
#2: Stencil Tearing
If there’s one thing more problematic than stencil lifting, it’s watching your stencil tear mid project. While it’s possible to salvage a project where lifting has occurred, a tear is usually terminal as it means you’ve lost control over the sharp lines and depth that produce a crisp finish. The solution here is simple: make sure that the stencil you’ve chosen is thick enough to withstand the pressure you need from the sandblaster, while remaining flexible enough to bend and curve where necessary.
The U-Blast advantage: all of our stencil rolls are clearly rated on their thickness and flexibility, making it easy to find the right product for your project.
#3: Blurry Edges
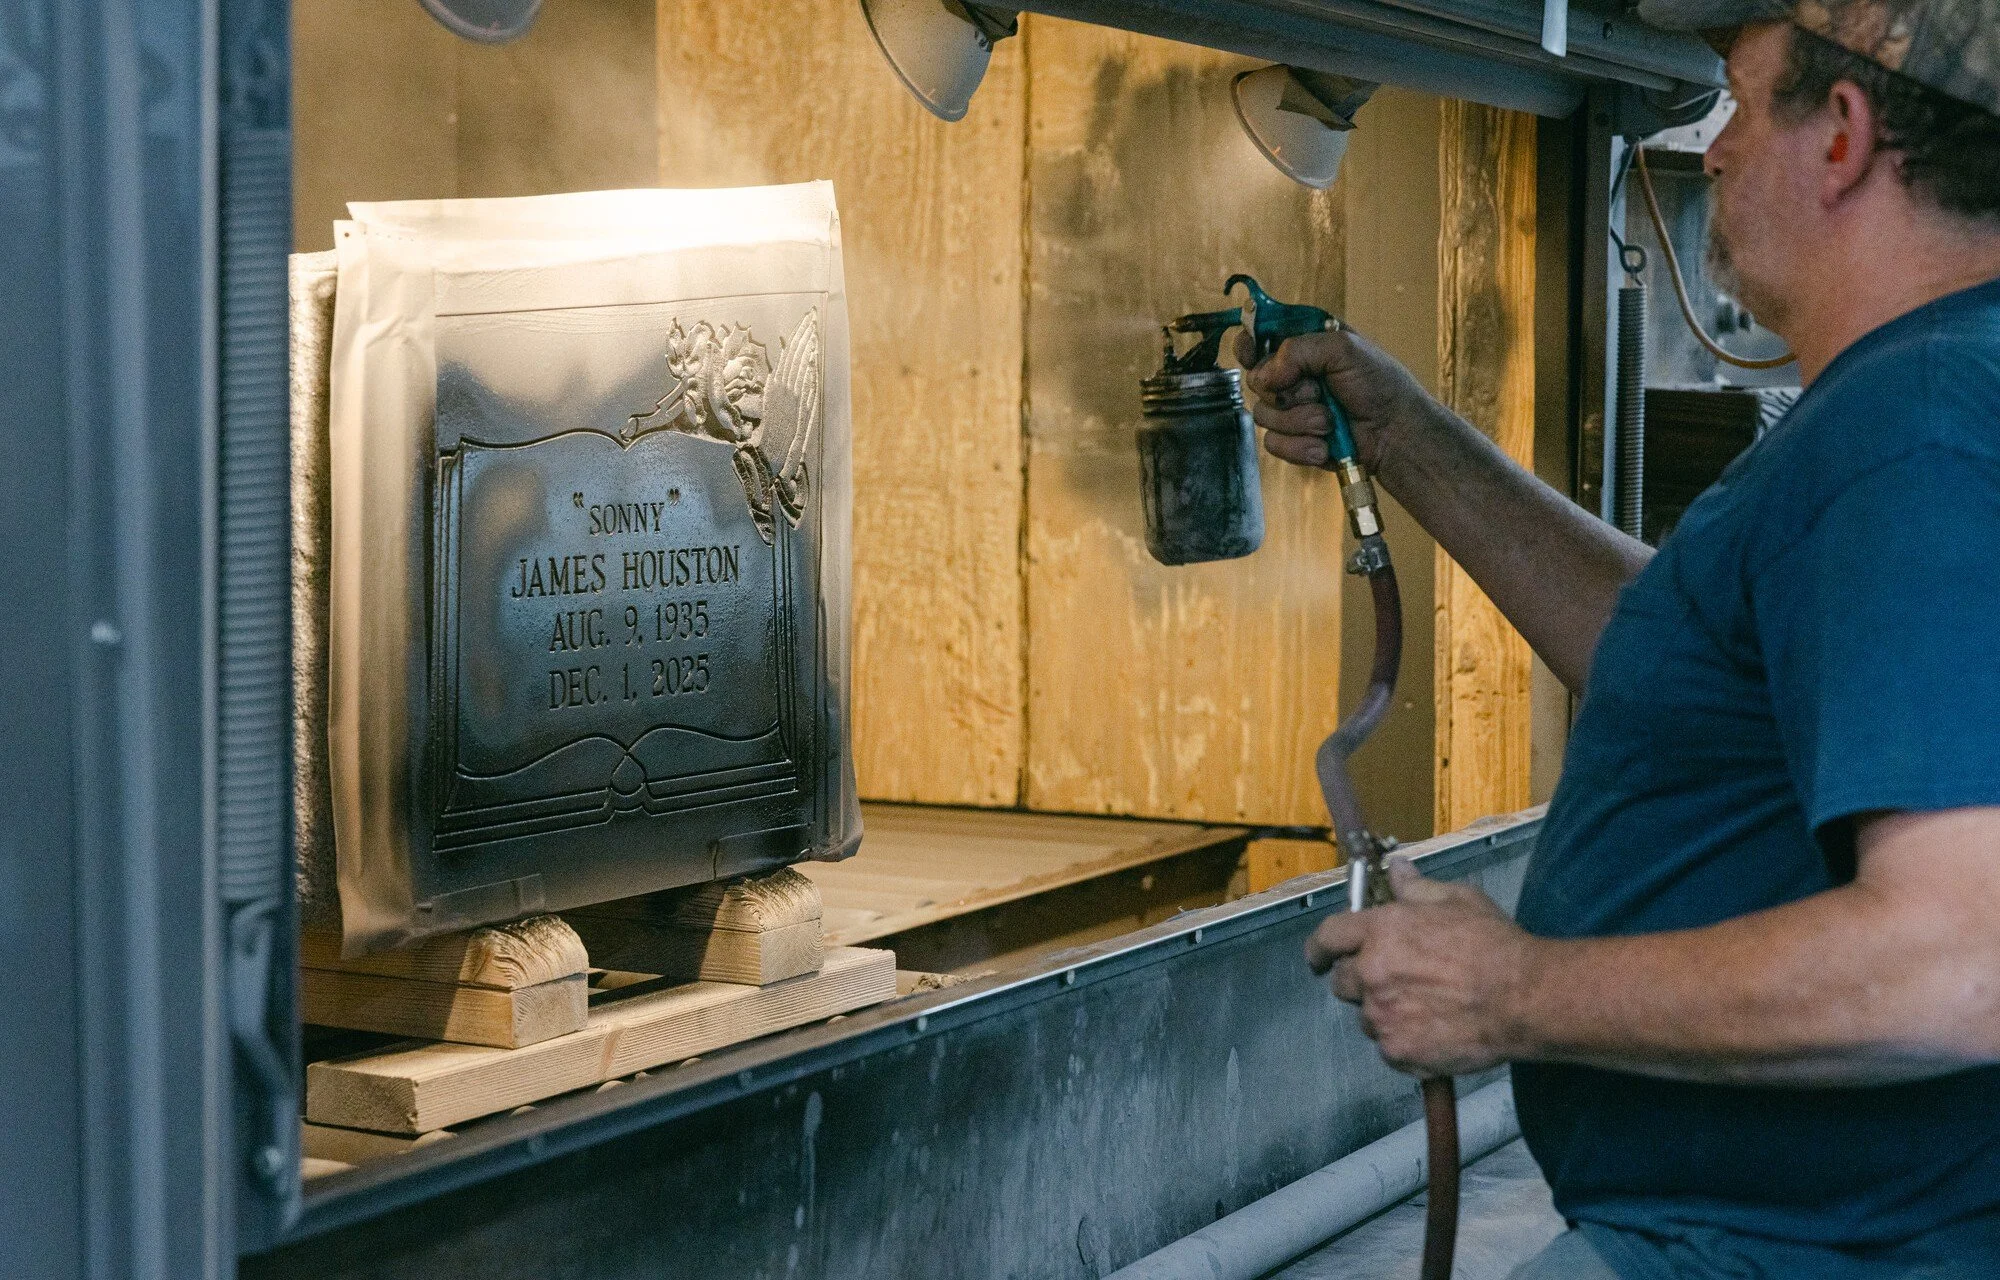
Sometimes, the problem with your sandblasting stencil isn’t obvious until you peel off the rubber and inspect the final results. Blurred edges aren’t necessarily a disaster, but they can extend the length of your project as you have to go back and tighten up the lines. You can end up with blurry edges either from a weak level of adhesion or an improperly cut stencil. To remedy these, you need to make sure you have a strong adhesive that matches the type of stone that you’re working with, and a stencil that cuts smoothly like butter. This only comes from a high quality synthetic rubber that has undergone numerous rounds of quality control to make sure all your edges are crisp and smooth.
The U-Blast advantage: our new synthetic rubber compound is designed with ease of cutting in mind. You’ll find all of our stencil rolls strong enough to maintain even the most intricate designs while being supple enough to keep your cutting blades sharp for longer.
#4: Uneven Adhesion
While the majority of your stone sandblasting work will take place on smooth and polished surfaces, there are plenty of stone monument projects that have rough and uneven surfaces. These make it more tricky for your stencil to adhere fully, and lead to air pockets or areas where the abrasive material can get underneath the stencil. The first fix in this case is to make sure you have a full seal by rolling over the top of the stencil to press the design flat. The meta solution is to find a stencil roll that is designed to flex and bend over uneven surfaces.
The U-Blast advantage: If you’re looking for a stencil roll with higher flexibility ratings, then our 723 series might be what you need. It combines our highest adhesive rating with the ability to stretch and bend, making it ideal for uneven surfaces.
#5: Interior Detail Breakdown
Often stone monument work involves intricate designs where the inner parts of the pattern leave weaker sections of the stencil. With poor quality rubber, these sections can move and shift under continual abrasive pressure, or even break off in the worst circumstances. Asking your client for less complex patterns isn’t an option, so the solution is to make sure your cutting blades are sharp and that the rubber that you’re using is designed to stay strong no matter how thinly you need to cut it.
The U-Blast advantage: Our game changing Anti-Shift Mesh™ Surface technology is now a feature across the updated UB and 7 Series. This industry leading technology means that stencils will stay in place, even with the most intricate designs. It also adds a layer of strength that you won’t find anywhere else, meaning that your stone project will look great the first time.