
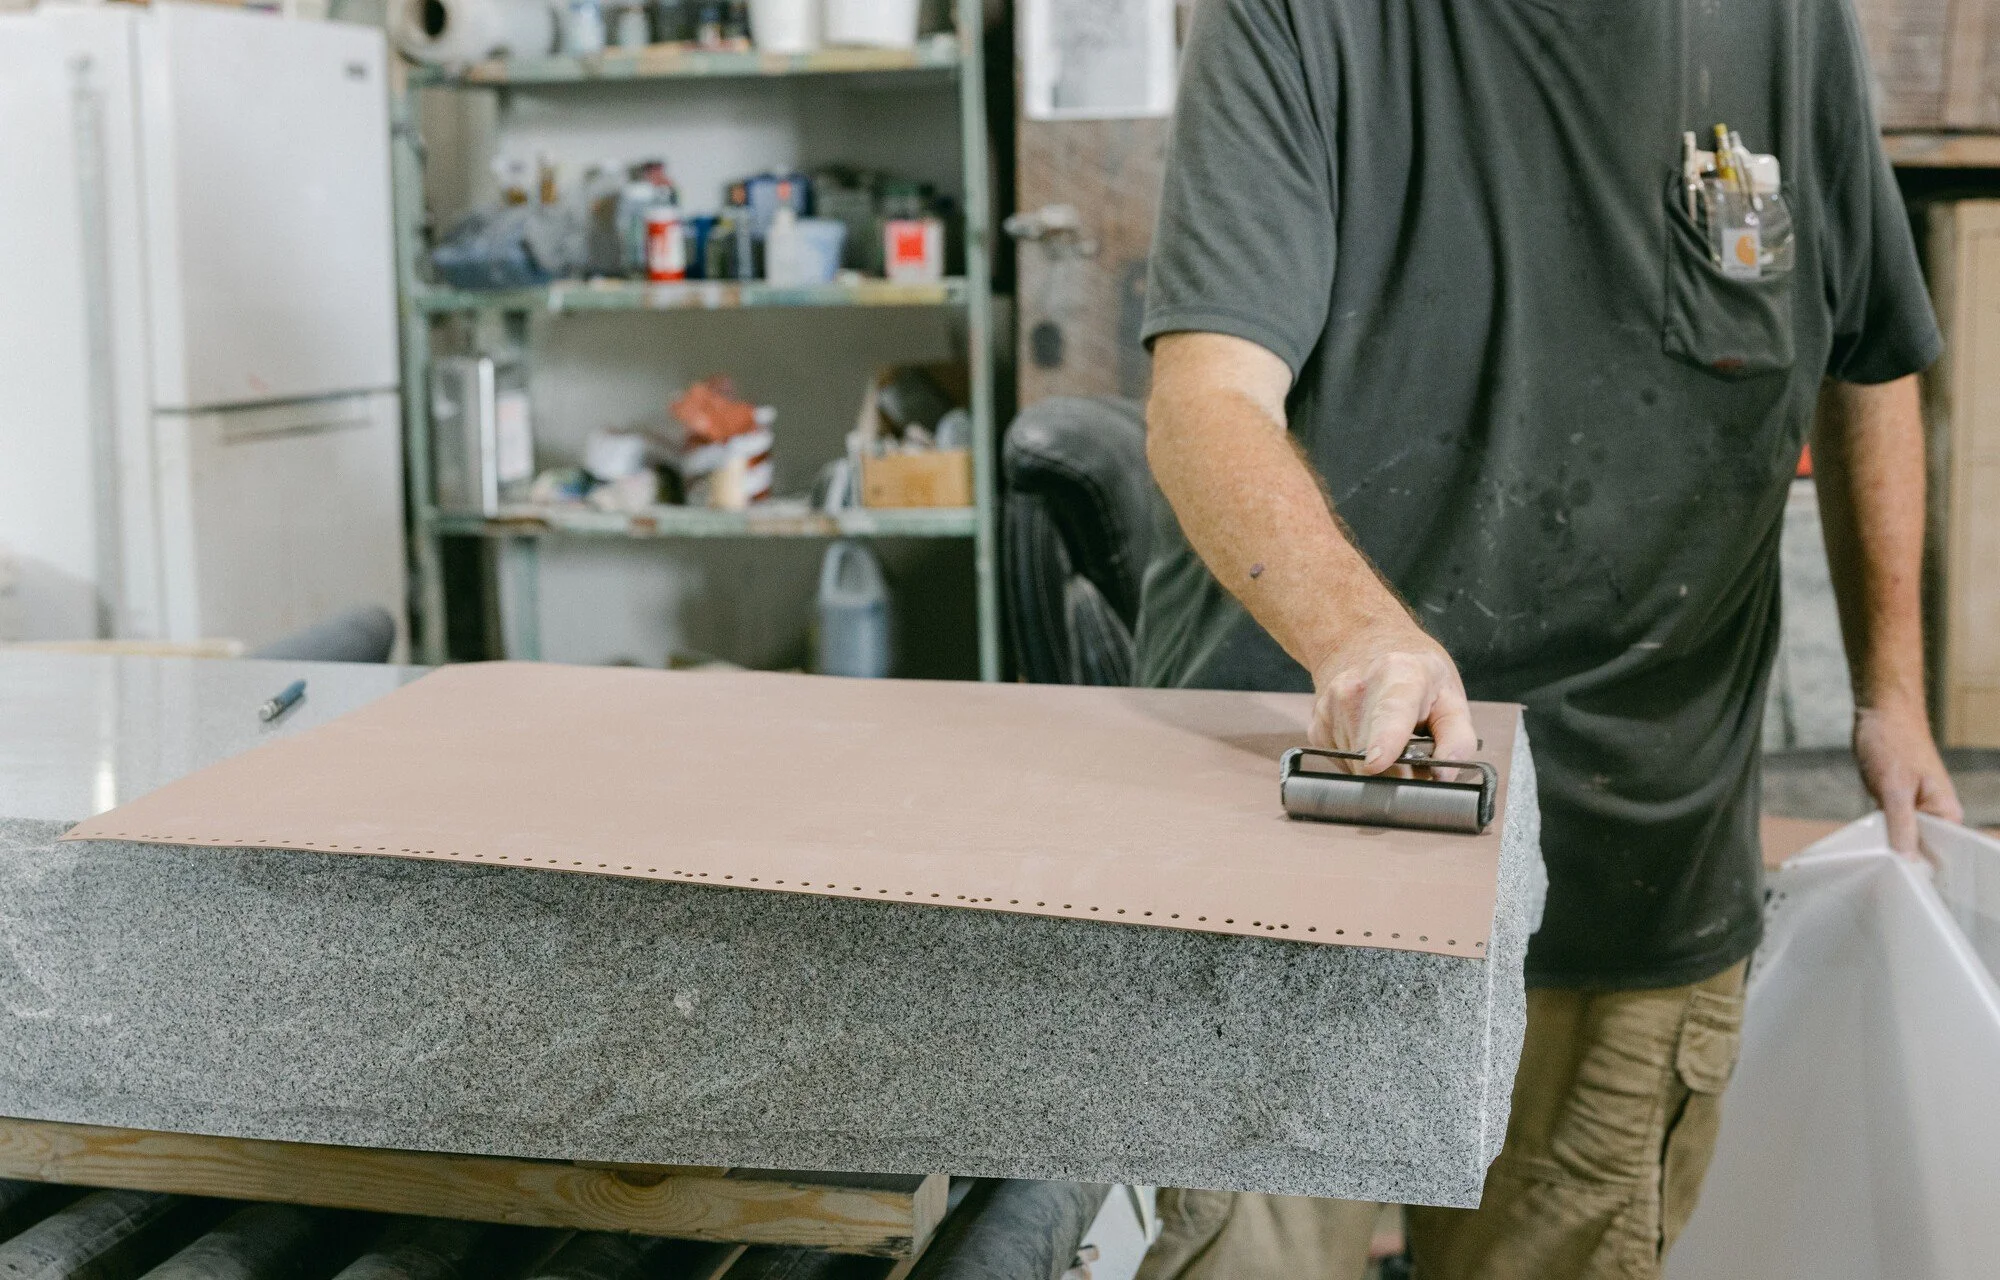
The success of any sandblasting project lies in how the final design looks once all the rubber has been removed and all the adhesive has been cleaned up. However, a clean and crisp finish comes from a combination of factors that start as soon as you receive the substrate surface that you’re going to be working on. Knowing how to prep your surface and apply a sandblasting stencil so it stays put from start to finish are integral pieces of the puzzle to get right, so let’s dive in with some pro tips to get your project right the first time around.
Surface Prep Like a Boss
Even before you start thinking about plotting and weeding your stencil, you need to spend a good amount of time and effort making sure that the substrate surface is prepped and ready to receive your stencil design. Any missing steps here can lead to larger problems once you turn the sandblaster on, so use this checklist to make sure your stencil stays stuck on throughout the whole project:
Clear the macros - the most obvious step is to clear up any debris that you can see with the naked eye. This means getting your paint scraper out to cut off jagged edges, cleaning off visible oils and generally making sure that the surface is smooth to the touch.
Scrub the micros - it’s not the large obvious bumps and lumps that make it hard for a stencil to adhere successfully. The invisible to the eye dips and ridges can leave small air pockets that can cause your stencil to lift up during sandblasting. You can take care of these with a lightweight scourer, and finish up by cleaning the surface to ensure all moisture has evaporated.
The power of microfiber - the final step is one that is often overlooked, and acts as more of a catchall failsafe than any specific cleaner. Wiping the whole surface with a microfiber cloth will pick up any leftover dust or particles and give you the peace of mind that you have a fully clean and dry surface that will provide a solid base for any stencil.
Easy and Accurate Stencil Application
Once you have followed these steps, you know that your surface is clean, dry and ready for your stencil. However, there’s still plenty that can go wrong that will undermine the accuracy and crispness of your final sandblasting design, all of which can be avoided with a few simple stencil application tips.
Prepare the Stencil
The first step to securely applying a stencil is to prepare the stencil for application. In the cutting and weeding stages, this means making sure you’ve cut away any stray pieces and you’re happy with the sharp edges. Once the surface is ready, lay your stencil out flat, and smooth a piece of transfer tape over the top of the design. Rub a squeegee or similar tool over the top of your design to burnish it. This forces the tape to grip the more delicate internal pieces of your design. Finally, flip the stencil over and press on the backing paper. This will help loosen it from the rubber and make it easier to transfer your stencil onto the substrate surface.
The Hinge Method
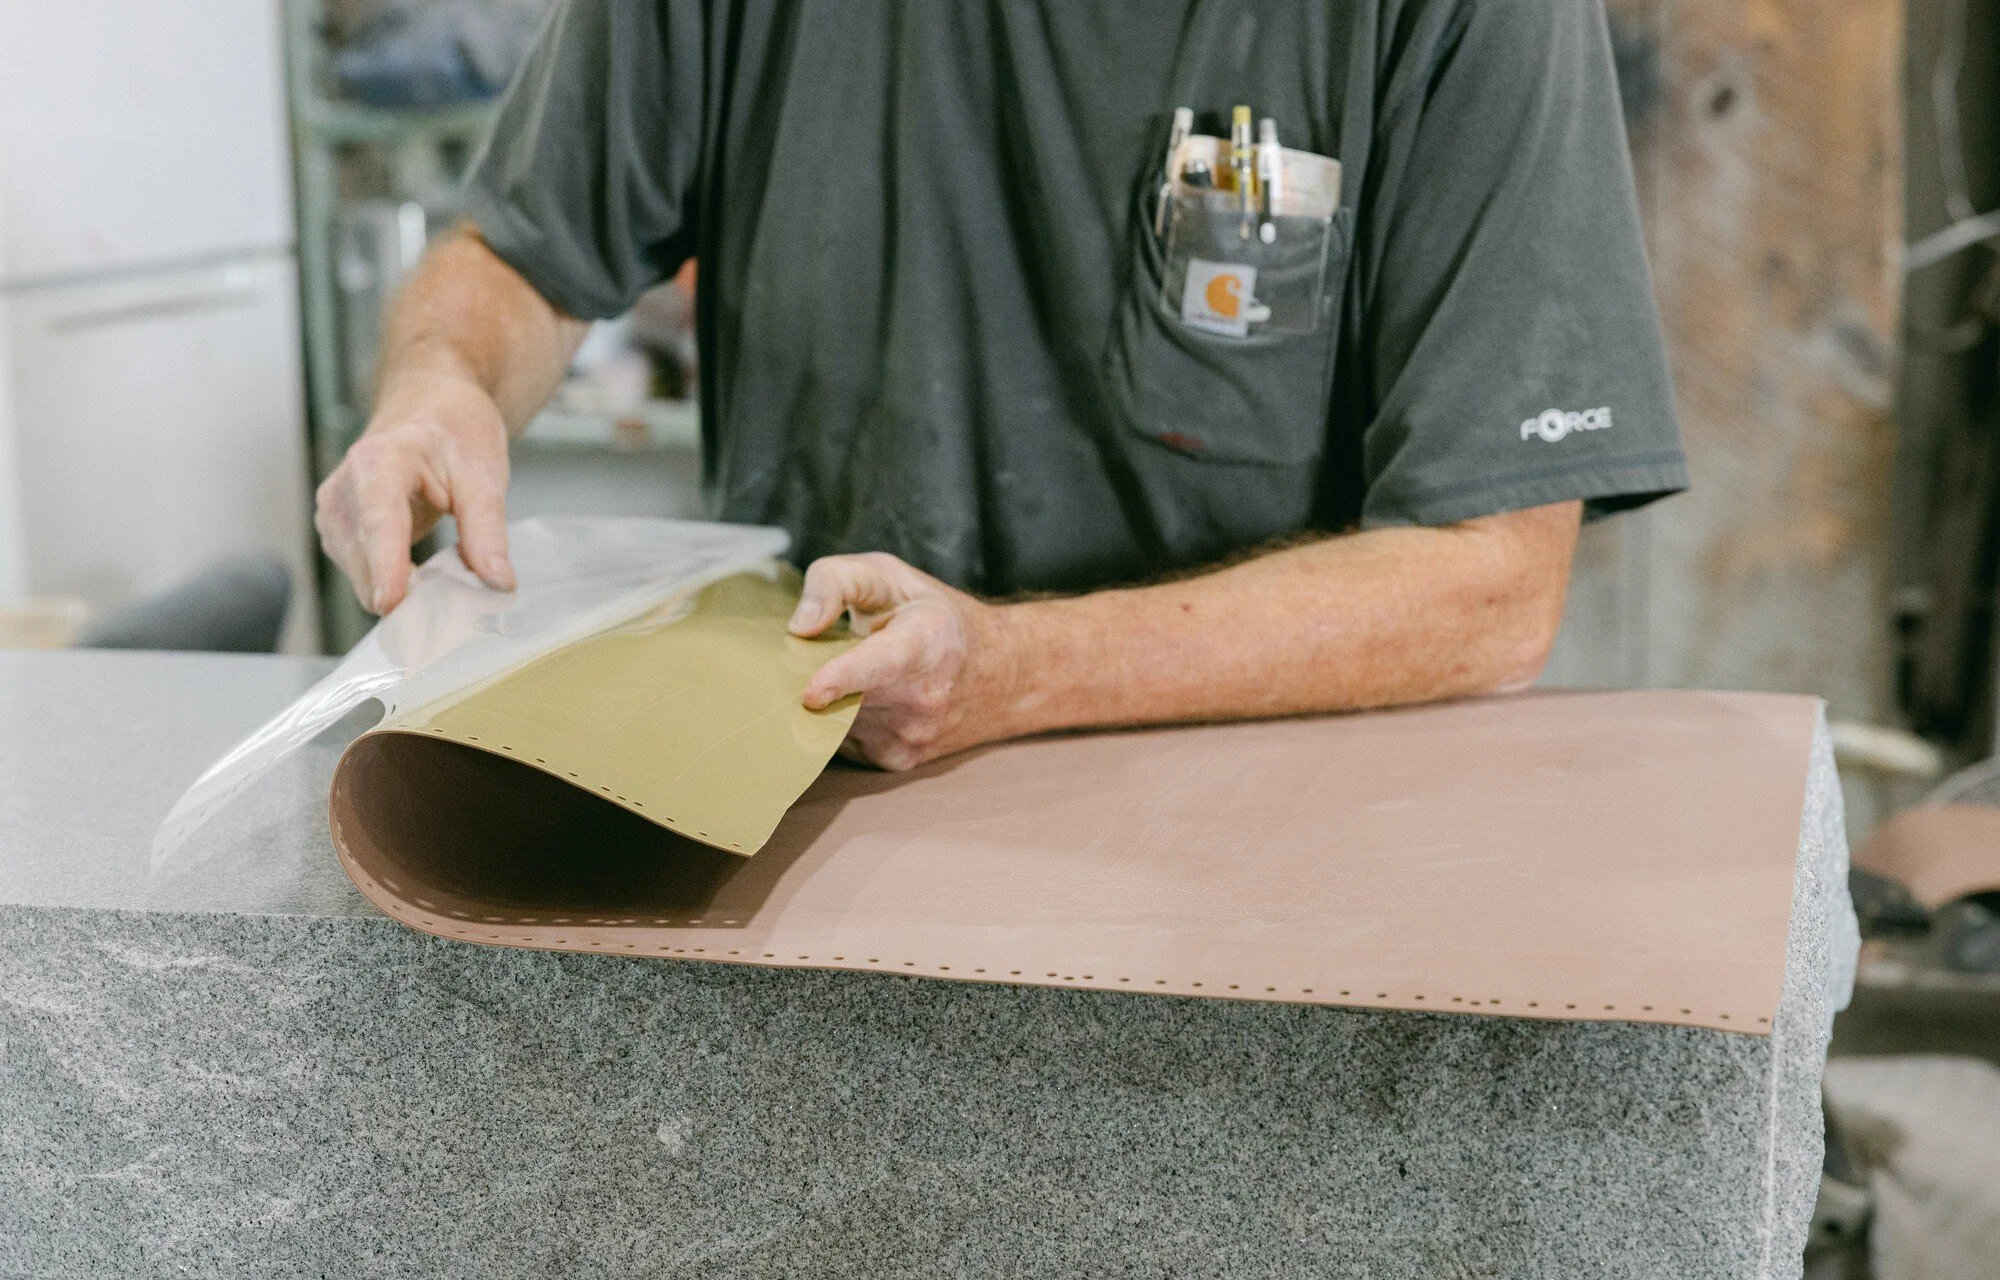
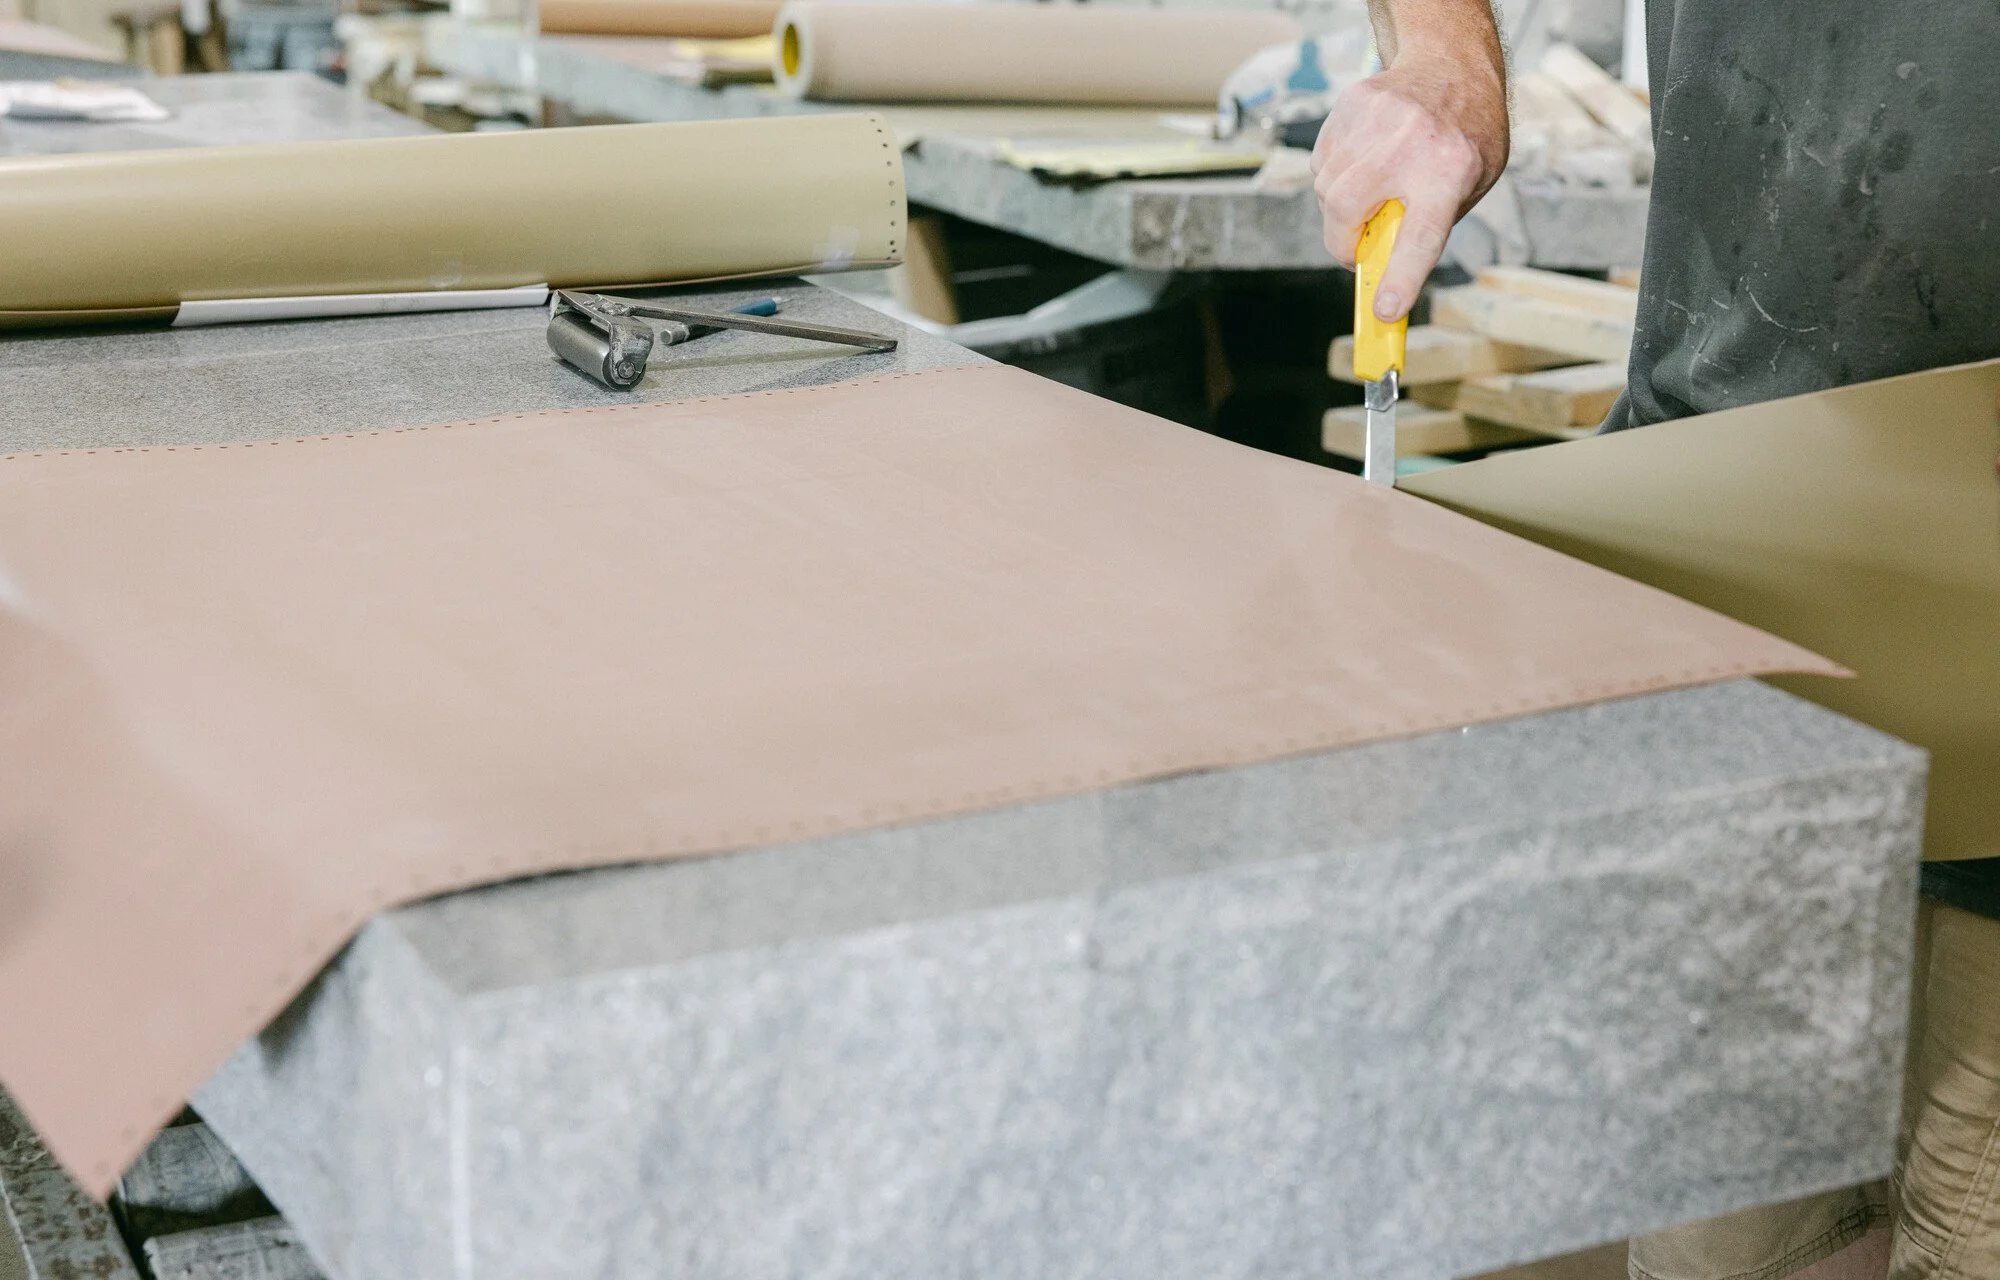
The hinge method prevents the stencil from shifting during application and reduces the risk of wrinkles. Place the stencil (with its backing paper still on) onto your substrate. Hold it in place temporarily with a few pieces of painter's tape. You then need to create the hinge. Apply a long strip of painter's tape horizontally across the exact center of the design, securing it to the substrate on both sides. Lift the top half of the stencil up, peeling it away from its paper backing up to the center hinge line. Cut away the dangling empty backing paper with your knife. Carefully lower the exposed stencil back down. Use your squeegee in overlapping, outward strokes from the center hinge to the outer edge to push any air out.
Secure the Edges
The final step is to fully seal the edges of your design. Run the squeegee over the entire design, paying particular attention to the edges and any intricate internal parts of the stencil. Peel the transfer back carefully and slowly to avoid pulling any part of the stencil up with it. Finally, apply masking or painter's tape around the outside edge of your stencil, overlapping it onto the stencil. This gives you a double layer of protection against edge lifting and will help your stencil stay put from start to finish.